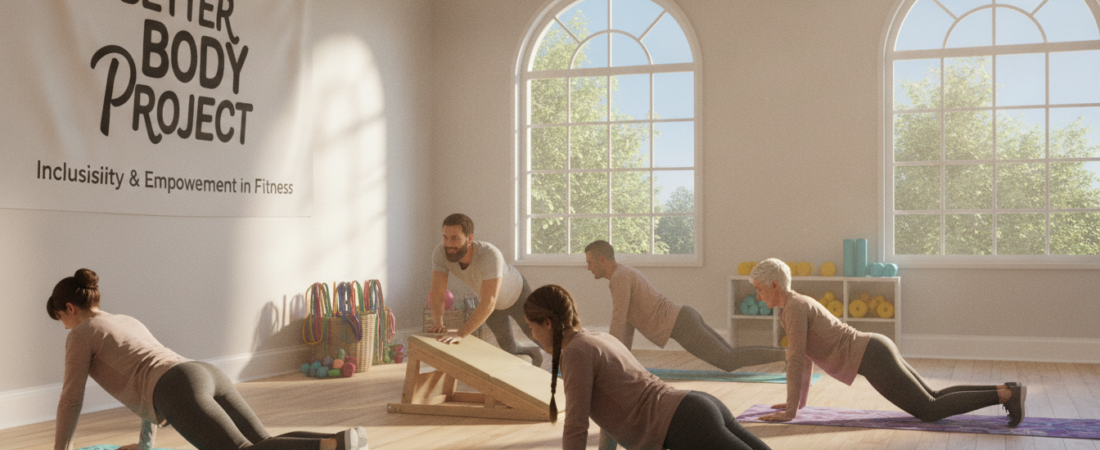
Ever wondered if a simple change could flip your fitness results? I know that goal of learning how to do a push up when you can’t feels big. I created this guide so readers from the United States can start small and build real strength.
Laila Ajani, a personal trainer and founder of Push Personal Fitness, taught me the best way to begin. We pick gentle exercises that match your current body level and respect your time.
My focus is on safe training and steady progress. You do not need fancy gear. Many ups use only body weight, and the wall is a great starting tool to train the movement pattern.
I will walk you through each step, so your technique becomes solid before moving on. With patience and simple routines, your workout confidence will grow.
Key Takeaways
- Start with exercises that match current strength and mobility.
- Use the wall as a safe intro to the push-up pattern.
- Focus on form first, then increase challenge over time.
- Bodyweight work can build strength without equipment.
- Follow a clear step plan from a trusted personal trainer.
Understanding the Mechanics of a Proper Push Up
Good technique starts with a clear sense of body alignment and steady core tension. I always check position first so the movement is safe and effective.
Engaging my core keeps the body in a straight line from head to heels. This tight trunk stops the hips from sagging and protects the back.
Steve Horney, a licensed physical therapist, says a mental cue—like bracing as if someone will kick your stomach—helps lock the core quickly.
Proper Alignment and Range of Motion
Hands sit shoulder-width apart to form a stable base. When I lower, the chest, shoulders, and arms work together against the floor.
I keep my elbows tucked near my sides to spare the shoulder joint. Focus on full range motion so the muscle engagement in the arms and chest is real and measurable.
“Maintain a straight back and tight core for safe form,” — Steve Horney
- Solid plank position stabilizes the back.
- Elbows close to the torso protect shoulders.
- Control the motion, then increase strength.
How to Do a Push Up When You Can’t Start on the Floor
Choose easier angles first so the upper body and core gain control. I recommend a three-step progression that protects wrists and shoulders while building real strength.
Wall Push Ups for Beginners
Stand facing a wall and place your hands at chest height. Lean in with a straight line from head to heels and bend the elbows. This wall variation keeps most of your weight off the ground and lowers injury risk.
Incline Push Ups on Sturdy Surfaces
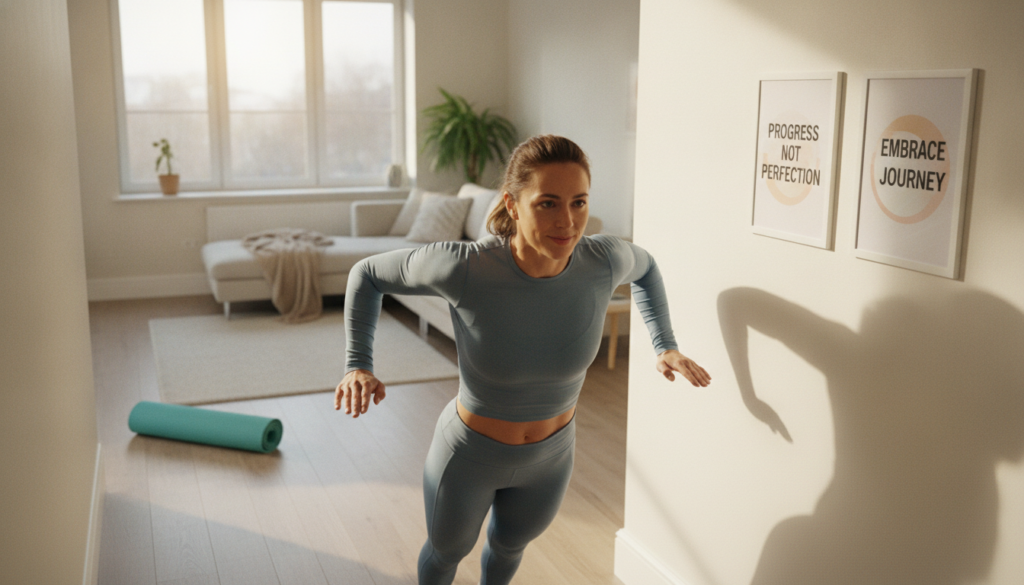
Use a firm chair or countertop and place hands wider than shoulder width. This incline exercise reduces upper body load and feels closer to a real floor motion. My personal trainer advice: keep the plank position and place hands so the wrists stay neutral.
Knee Push Ups for Floor Familiarity
Knee variations let the chest and arms work with about 54% of body weight, according to a 2011 study. Aim for three sets of 5–10 reps, three times per week. Keep elbows near the sides and stop if pain or wrist strain starts.
- Start with wall moves, then incline, then knees for progression.
- Focus on straight line alignment and steady motion of the shoulders, back, and core.
- Practice these exercises regularly and you will build the fitness needed for full push-ups.
“Progression keeps training safe and effective.”
Building Essential Upper Body Strength
Small, steady lifts with light dumbbells build real upper body progress. I use brief sessions that focus on control and joint safety.
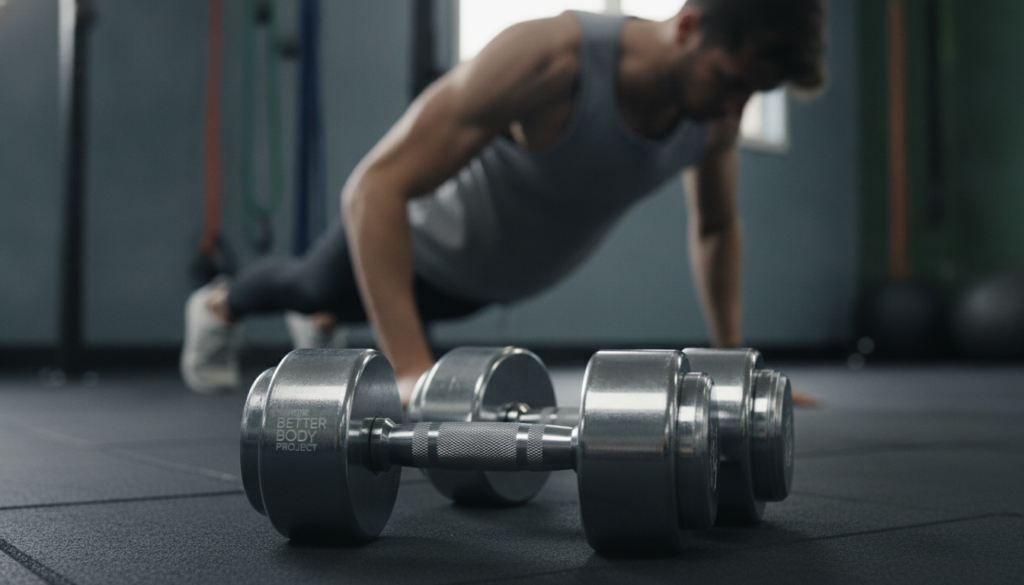
I start with three to five pound weights for triceps extensions and shoulder presses. These moves target the same muscles needed for floor work and help the body learn the required position.
Targeting Triceps and Shoulders with Dumbbells
Three sets of 5–10 reps feels right when starting. I keep my core tight during the shoulder press to hold a stable position while lifting weight.
- Triceps extensions build arm power for pressing the chest off the ground.
- Shoulder presses strengthen the shoulders and help protect the back.
- Keep the back straight and the hands steady; avoid fast jerks.
| Exercise | Start Weight | Sets × Reps |
|---|---|---|
| Triceps extension (seated) | 3–5 lb | 3 × 5–10 |
| Shoulder press (standing) | 3–5 lb | 3 × 5–10 |
| Light chest fly (floor) | 3–5 lb | 2–3 × 8 |
Consistent training with these dumbbell exercises will build muscle endurance and help me build strength for ten full ups on the floor. Progress slowly, increase weight only when form stays solid.
Mastering the High Plank Position
Holding a controlled high plank builds the core strength needed before any floor descent.
I place my hands directly under my shoulders and ground my toes into the floor. This sets the high plank so the body forms a straight line from head to toes.
Tighten the abdomen and buttocks so the back does not sag. Keep the elbows slightly bent to avoid locking joints and reduce strain on the shoulders.
I hold this plank position for 15–30 seconds as part of my training. The brief holds teach the muscles to accept the weight of the body and steady the spine.
Focus on starting form before any descent to the ground. Mastering this position gives me the stability and confidence needed for full ups.
Progressive Techniques to Reach Ten Repetitions
I focus on two complementary drills that train slow lowering and fast pressing. These techniques build strength and skill in a clear, safe progression.
Negative Push Ups for Eccentric Control
I lower my body slowly toward the floor, keeping a straight line from head through toes. This eccentric work stresses the muscles under control and helps the upper body accept more weight over time.
Aim for three sets of 5–10 slow reps, paused briefly at the bottom. Make sure your core is tight and your elbows track near the torso to protect the shoulders and wrists.
After building control, I add positives: a powerful press back to the high plank position. This trains speed, coordination, and the chest and arms that must work during full reps.
Practice these drills three times per week, use full range motion, and place hands in a stable position under the shoulders. My personal trainer notes this progression helps reach ten ups while lowering injury risk.
“Quality reps beat high volume early on; progress with patience.”
Common Form Mistakes to Avoid
Minor faults in form often cause pain long before strength improves.
I watch my hips and shoulders first. Sagging hips pull the back into an unsafe curve and raise injury risk. I make sure the core stays firm so the spine stays neutral.
I avoid flaring the elbows wide. A personal trainer would warn that this places excess pressure on the shoulder joint. Keep elbows near the torso so the chest and triceps do most of the work.
Look at a point on the floor two to three feet ahead while in the high plank position. This keeps the neck neutral and stops strain from looking straight down.
If wrists ache, try a towel under the hands or hold light dumbbells so the wrists remain straight. Do not lock the elbows at the top; locking removes tension from the muscles and steals strength gains.
Rushing reps prevents true muscle development. Slow, controlled movement beats hurried volume and supports steady progression toward full floor reps.
“Quality movement and steady progression protect the body and build real strength.”
- Keep core tight; avoid hip sag.
- Elbows tucked; protect shoulders.
- Neutral neck; focus on a floor point ahead.
- Adjust wrists if pain arises; use props for support.
| Common Fault | Risk | Quick Fix |
|---|---|---|
| Hip sag | Lower back strain | Brace core; shorten lever by using incline |
| Elbows flared | Shoulder overload | Tuck elbows; cue chest and triceps |
| Locked elbows | Reduced muscle engagement | Stop just short of lock; keep slight bend |
| Wrist pain | Training interruptions | Towel or dumbbell hold for neutral wrist |
Conclusion
Consistency and clear technique, guide every small win in my routine. I treat mastery as a steady journey that will build strength over months, not days.
Start light with wall progressions, move into the high plank position, then add controlled negatives and brief sets on the floor. These steps let the core and muscles adapt under manageable weight.
I train three times per week and watch my back and form. With patient training, push-ups become part of regular fitness and ups reach ten reps. Stay steady and trust the process; progress follows.
FAQ
What should I focus on first if I struggle with full push ups?
I start by building core stability and shoulder strength. I work plank holds, wall and incline variations, and light dumbbell exercises for triceps and deltoids. These steps improve alignment and let me practice the movement without supporting full body weight.
Which muscles carry most of the load during the movement?
The chest (pectoralis major), triceps, and front shoulders (anterior deltoids) do most of the pressing. My core, back, and glutes brace the body in a straight line so those prime movers can work efficiently.
How do I check proper form in a high plank position?
I make a straight line from head to heels, tuck my ribs slightly, squeeze glutes, and keep hips level. I place hands under shoulders and spread fingers to reduce wrist strain. A mirror or video helps me spot breaks in alignment.
Are wall push ups useful for beginners?
Yes. I use wall push ups to teach rhythm and shoulder control while keeping weight low. They let me focus on elbow path and chest engagement before moving to steeper inclines.
When should I progress from wall to incline work?
I move to an incline when I can do multiple sets with good form and controlled tempo. A sturdy table, bench, or countertop reduces load gradually so my muscles adapt without excess fatigue.
How do knee variations help on the floor?
Knee reps shorten the lever, lowering load while keeping body alignment practice. I keep a straight line from head to knees, control descent, and press back up to build strength for the full-range movement.
What are negative reps and why do I use them?
I lower slowly from the top position to the floor to stress muscles eccentrically. Negatives build strength and control through the hardest part of the motion and speed up progress toward full repetitions.
What’s the role of positive or explosive reps?
Once I have control, explosive presses teach power and fast recruitment of muscle fibers. Plyometric or faster concentric reps help when I want to increase repetition capacity and functional strength.
Which accessory exercises best target triceps and shoulders?
I use dumbbell overhead presses, triceps extensions, and close-grip floor presses. These strengthen the pressing chain and reduce weak links that often limit push up performance.
How often should I train these progressions?
I train 2–4 times per week depending on recovery. I mix strength days with technique-focused sessions, and I increase load or reps slowly to avoid injury.
What common form mistakes should I avoid?
I avoid sagging hips, flaring elbows, shrugging shoulders, and incomplete range. These errors shift load away from target muscles and increase injury risk. Quality beats quantity.
How can I protect wrists during pressing?
I place hands with fingers spread, press through palms, and vary hand angle. Using push up bars or doing pushes on a fist or dumbbells can reduce extension stress on wrists while I build strength.
When is it safe to attempt toes-only full-range reps?
I try toes-only reps once I hold a solid high plank for 30–60 seconds, can perform multiple knee or incline sets with control, and can do slow negatives comfortably. Gradual exposure lowers injury risk.
What if I hit a plateau and can’t add reps?
I change variables—tempo, volume, or angle. I add targeted accessory work, prioritize recovery, and sometimes reduce frequency briefly to come back stronger.
How should I use a trainer for guidance?
I ask a certified personal trainer to assess my alignment, set a progressive plan, and correct movement faults. Hands-on coaching speeds learning and ensures safe progression.